Part One - Downloading the Blog Text & Images:
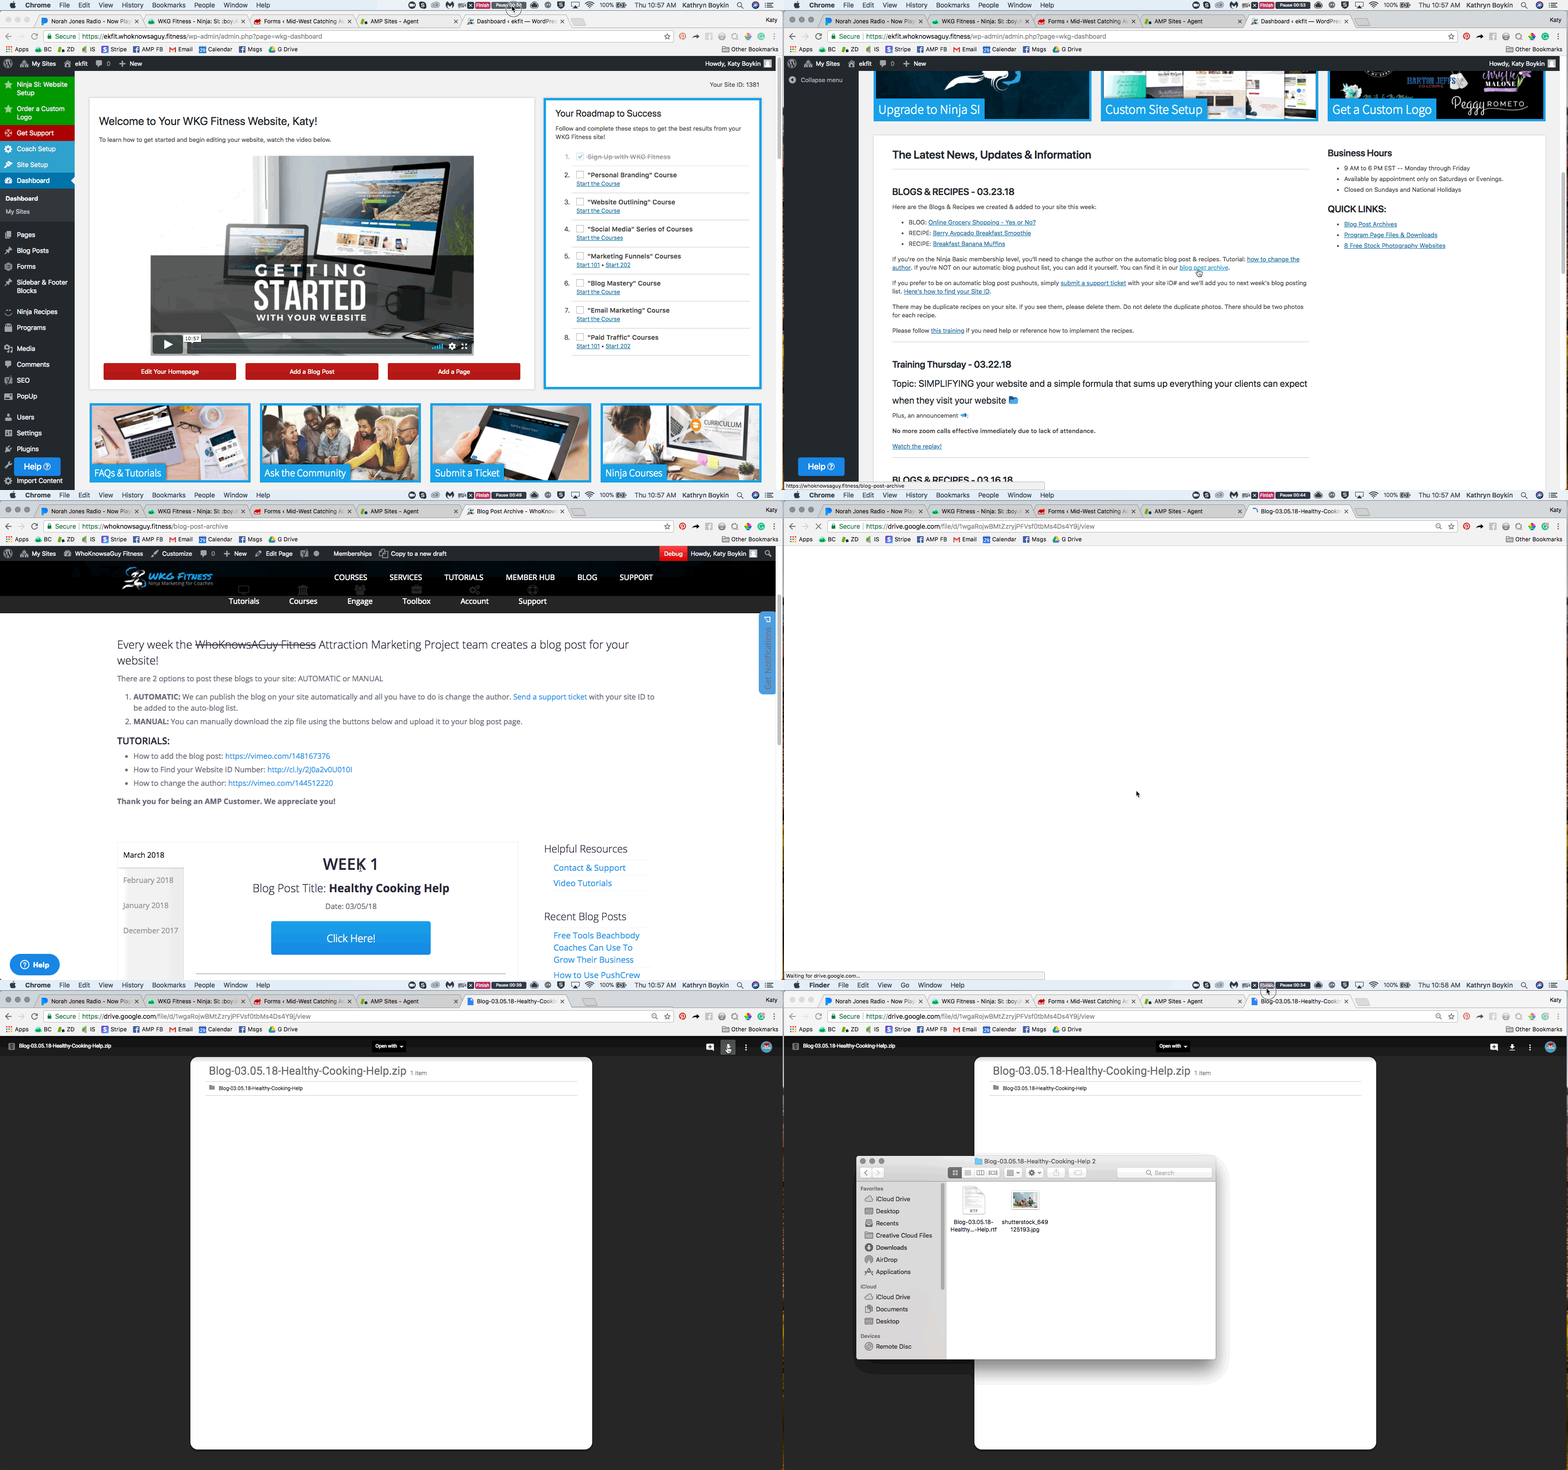
- Go to WKG's blog post archive: https://whoknowsaguy.fitness/blog-post-archive.
- Browse to the blog post you want to add to your website and select the "Click Here!" blue button.
- Next, you'll see the Blog zip file. You'll want to select the white download arrow in the top right-hand corner of your screen. This will automatically download it to your computer.
- Double-click the zip folder to see the contents.

Part Two - Adding the Blog Post Tet to your Website
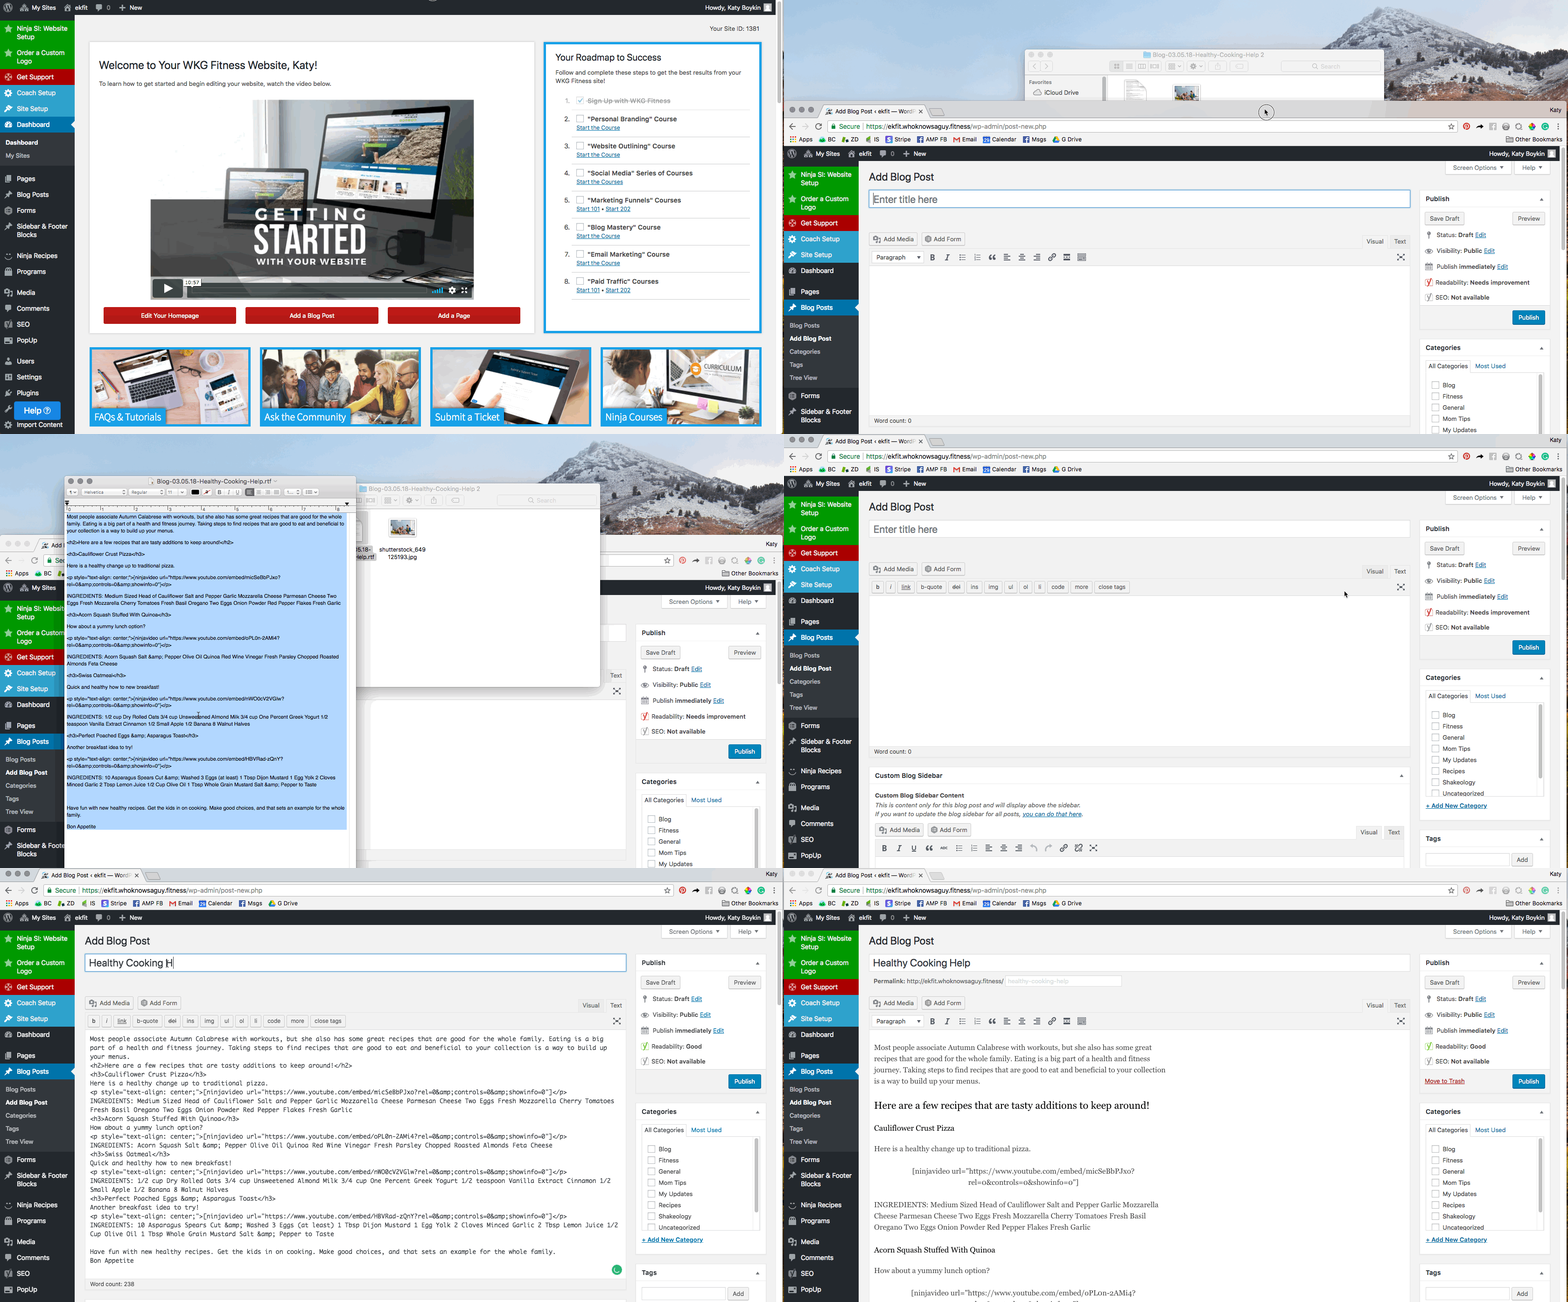
- From your dashboard, use the quick link to Add New Blog Post
- Next, open the (.rtf) text file that downloaded to your computer. Copy and paste all of the content.
- On your new blog post, select the TEXT tab and paste the content. DO NOT PASTE THE CONTENT ON THE VISUAL TAB.
- Add the blog post a title
- Click back to the visual tab to see the different heading styles and other design elements.

Part Three - Adding the Images to your Blog Post
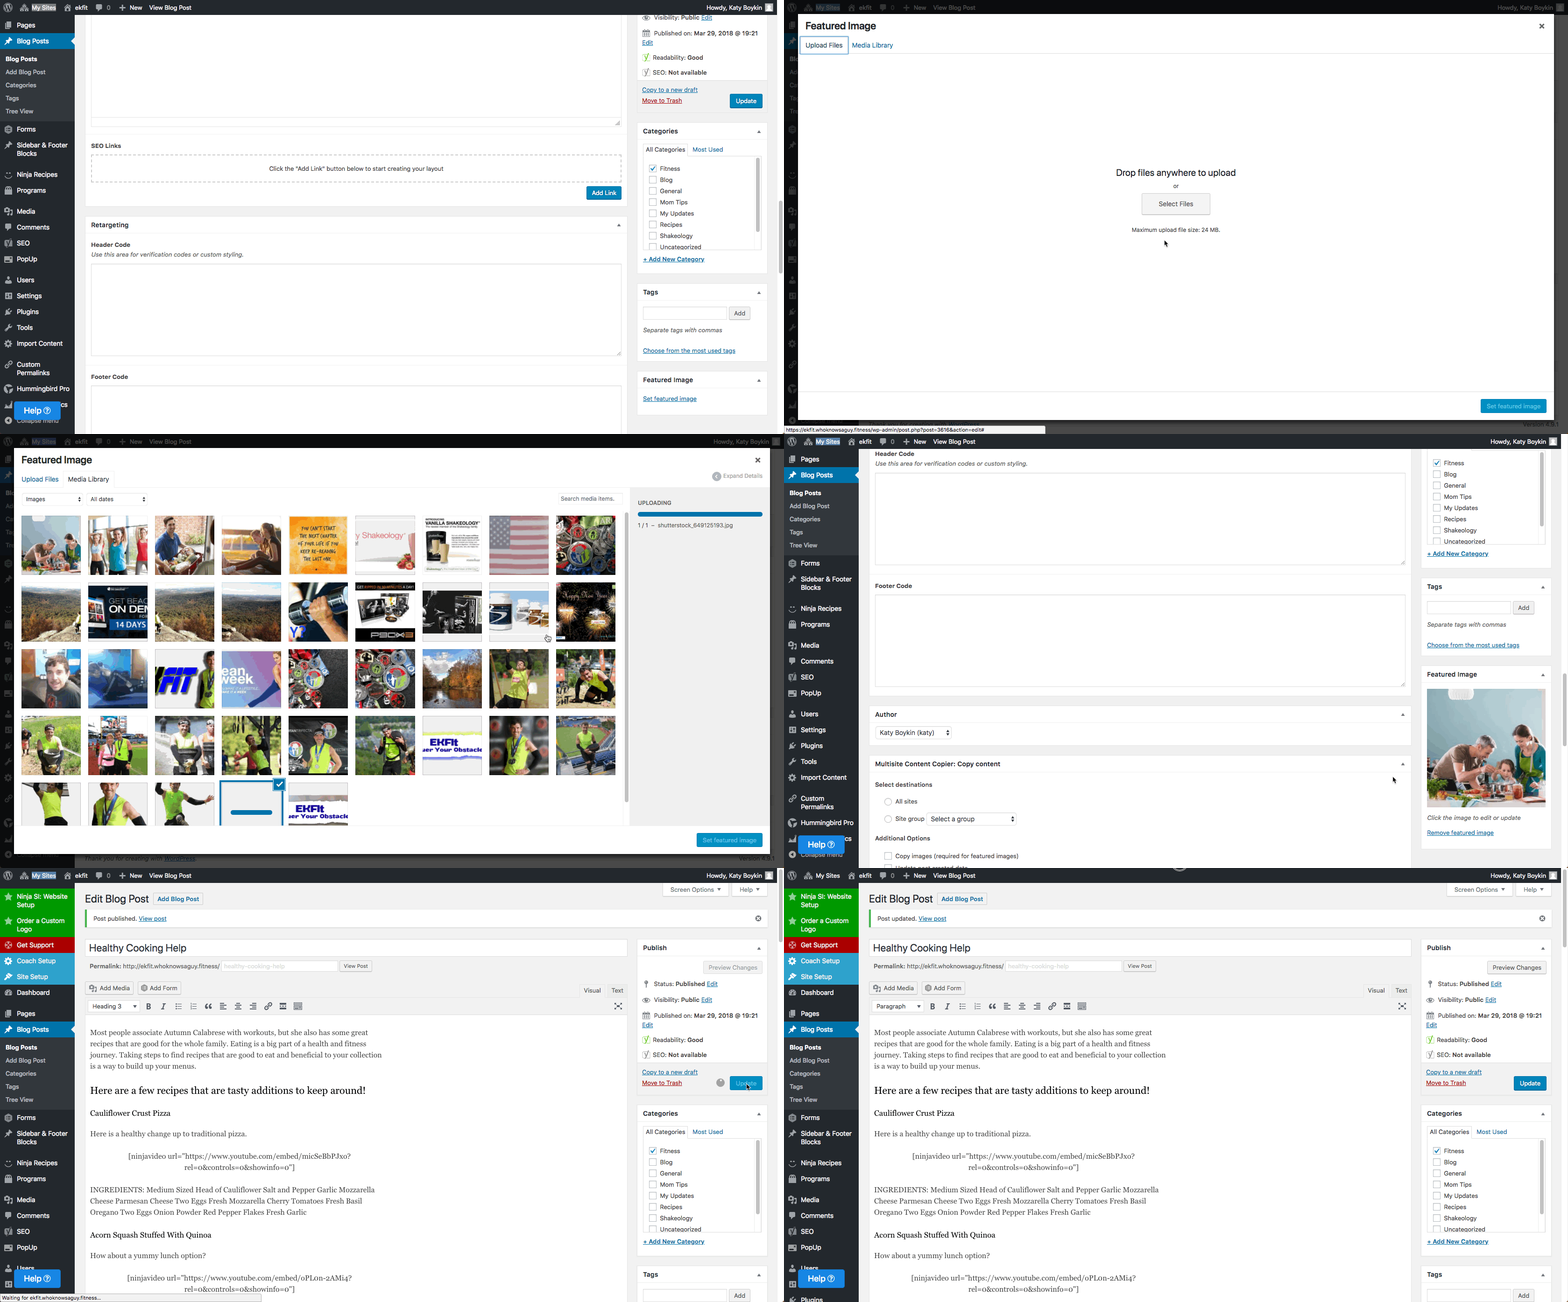
- Select Set Featured Image and upload the files to your media library.
- Add any additional images if necessary. (Simply return to your dashboard and click on the hyperlink to view the demo site to make sure it matches.)
- Select Publish.
- Now view the Page to make sure it looks correct!

